


by: Unkle F777
(images by: R Ibanez)
The first compact cassette or cassette tape as we know it came out in 1963 from the Philips Co. in the Netherlands. Cassettes have the distinction of being old and cult but still thriving amidst the whole endless CDs vs. vinyl war and discussion that’s been going on for years. It also remains cheaper and more affordable than both.

Many collectors and casual fans diss tapes for having ‘the worst sound quality’ among the three, with vinyl and CDs always in a head-on collision. Well, if you have a bad quality player and/or the cassette had poor production or if it was recorded on equally inferior equipment, well that’s what you would get.
Still, the proud but humble cassette stands on the sidelines, laughing and munching popcorn, as “audiophile” users continuously debate on who’s more Hi-fi, more in demand, or who has the better audio quality and sonic experience between vinyl and CDs. It remains a thriving medium very much alive today, even being a revolutionary medium for disseminating underground recordings due to its compact size and reliability.
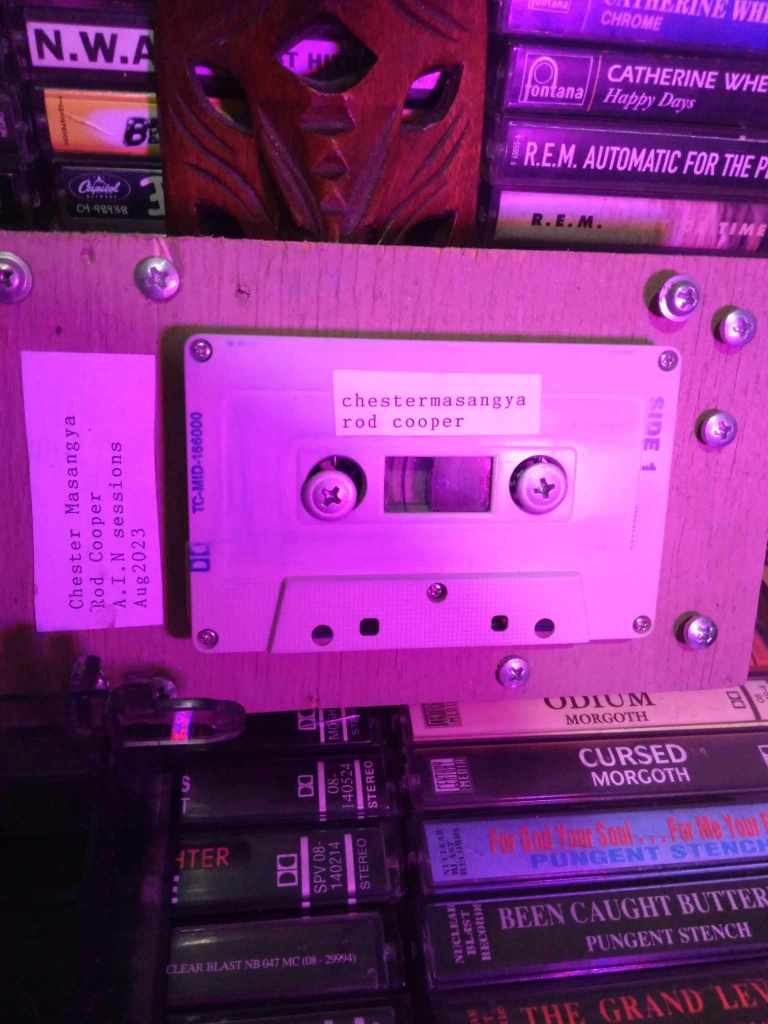
However, tapes are also the most demanding when it comes to proper care and maintenance. It also has specific demands to maximize the sound output. These requirements aren’t much. But you need to follow them to get the most out of your tapes. Some tapes can outlast CDs and vinyl, provided you take good care of them.

5. TREAT THEM WITH CARE
This is the most basic and no-brainer tip. After playing, don’t ditch them and throw them in some spot. Don’t ditch your tapes carelessly if you’re playing them somewhere where they can get wet, dusted, or greased up. Avoid touching the tape reel, which is the same as not touching the vinyl record’s surface.
After playing, rewind or forward them, and store them back in their cassette cases. They have that included for a reason. That’s why we recommend playing the whole tape or side to prevent leaving the cassette reel exposed, even if they are placed in the cases. The best way to store them is vertically in a dust-proof, non humid storage with decent temperature.

4. PRACTICE PROPER STORAGE
Cassettes are just as fussy when it comes to proper storage. We are dealing with physical media here. Owning any type of physical media demands care. If you expect your tape to sound as good as you first bought it but treat it like crap, well then you’ve got another thing coming.
Tapes need a dust-free storage section that has a balanced temperature that’s not too hot or cold. The analogue tape reel inside is the most vulnerable out of all three formats, including reel to reel tape and 8 track tapes. Pay attention to the dust level of your location after cleaning to gauge how much of it circulates in the air.
If you’re in a tropical and/or very hot country, make sure your room or storage isn’t summer scorching hot and far away from direct sunlight. Hot rooms must have decent ventilation to avoid warping. This is important.
The same goes for rooms or storage with fluctuating humidity levels. Too much humidity can deteriorate sound quality, leading to warped tapes and high-pitched scratching sounds, a product of either fungal growth or corrosion on the inner tape reels.

According the the National Archives, the ideal settings should be somewhere between 55-70 degrees Fahrenheit or 13–23 Celsius and with 30-55% relative humidity (RH) levels.
Also, very important, keep them away from devices with high electromagnetic fields. Putting them on top of or near old TVs, magnets, surge protectors, loudspeakers, and other appliances with high levels of magnetic or electromagnetic energy will surely destroy or even erase them.

3. CLEAN YOUR CASSETTE PLAYER PROPERLY
Too often, many people who own cassettes also treat their cassette decks like crap, then expect it to sound great all the time. Just like vinyl records, you have to clean the mechanism and direct contact parts to maintain good sound quality. The storage requirements above also apply to your tape decks.
Pure, commercial alcohol is usually 70% with no fragrance mixed in and is good enough for cleaning. Clean the tape head and metal rollers with cotton, soft paper towels, or microfiber cloth dampened with some alcohol gently after playing 2 or three whole cassettes or so.

For the rubber capstans, it’s important to use cloth, cotton, or soft non-shedding paper towels minimally dampened with clean water or diluted commercial alcohol. Alcohol can dry up rubber and harden it over time, removing its grip surface and rubbery qualities.
Whenever you notice uneven sounds or when it starts to sound fuzzy or blurry, have a gentle wipe or two to remove accumulated grime and dust. This is specially for dirty cassettes with careless storage or if you haven’t played them in a while.

2. USE THE FORWARD-REWIND TECHNIQUE
For tapes that are old or haven’t been played a while, they have a tendency to stick somewhere in their rollers inside or on the surfaces of the tape reel spool. This leads to non moving tapes or those that suddenly get stuck and stop playing in the middle. Big reels such as C90s or more can also get stuck due to its heavier spool.
The best solution to keep these tapes loose and easy-rolling is to forward-rewind them to shake them loose. This will make the tapes easy to play and roll on towards the end of each side. This prevents it from stopping at play midway or even the tape reel getting stuck or spooled on one roller side, which of course damages your tapes.

1. PLAY YOUR TAPES ON A DECENT CASSETTE DECK
I’m sorry, but if you own an inferior or cheap tape deck, you get what you pay for. The same goes for poor quality walkmans, small portable decks, and boomboxes with inferior machines and magnets that also sound inferior. They will eventually destroy your tapes especially if you don’t follow the forward-rewind-forward technique and/or the cassette is heavier (c90s, c100s, c120s).
If you’re serious about collecting tapes, get a decent or good quality deck, walkman, or player. These cheap machines cannot handle the load enough, and sooner or later, they will eat up your precious tapes and leave you crying over some spooled and destroyed cassettes.
Get a branded cassette deck with a powerful mechanism and high-quality system and plug them to a decent stereo or sound system. If your tape deck is sh*t, you won’t get a quality sound off your tapes and it might even destroy some of them.


Leave a comment